|
|
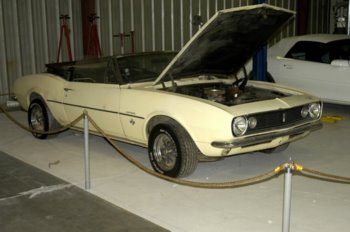
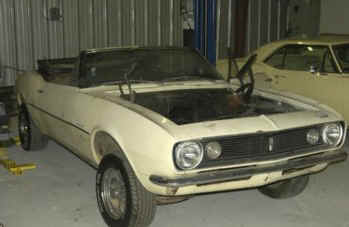
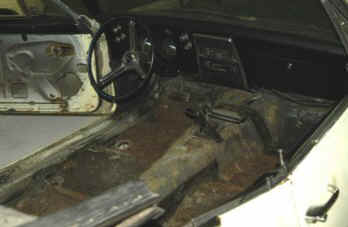
The photo set that sent us
scurrying down Atlanta way with the dually and trailer in Sept '04. |
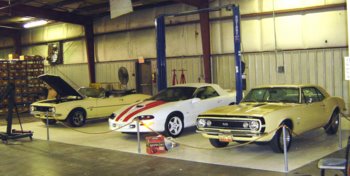
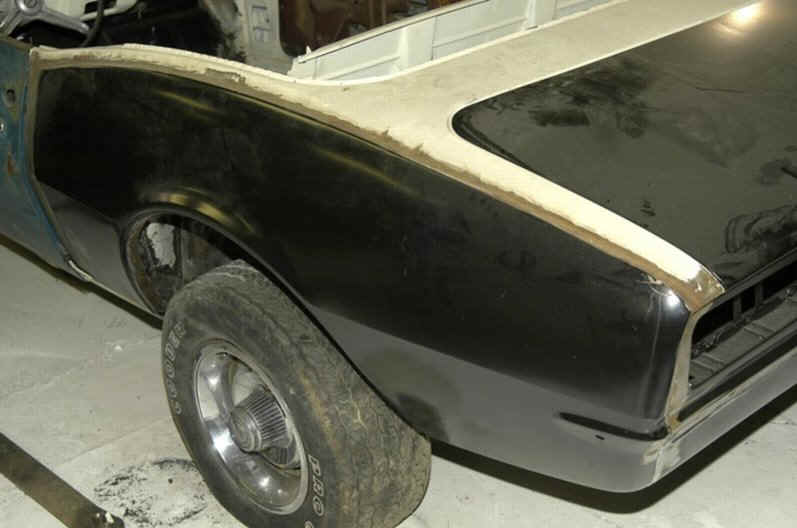
Our newly acquired original butternut
yellow convertible sits back in our lift area with it's prettier
coupe cousin. Our staff uses this three car area in our main
warehouse as our Camaro projects site, as well as the minor
maintenance of our showroom cars.
|
We actually spend quite alot of time wrenching the Camaros apart or back together for restoration or test fitting the latest restoration parts. Everyone's enthused (and opinionated) over this project, as we intend to Pro-Tour the convertible with the collective staff deciding what she gets for equipment and looks like when finished. We're already inclined towards around 400 hp and a six speed trans, Stainless Steel Brake's big Force 10 stopping power for front and rear, and one of Vintage Air's AC kits. For the rest.....stay tuned. |
|
  |
|
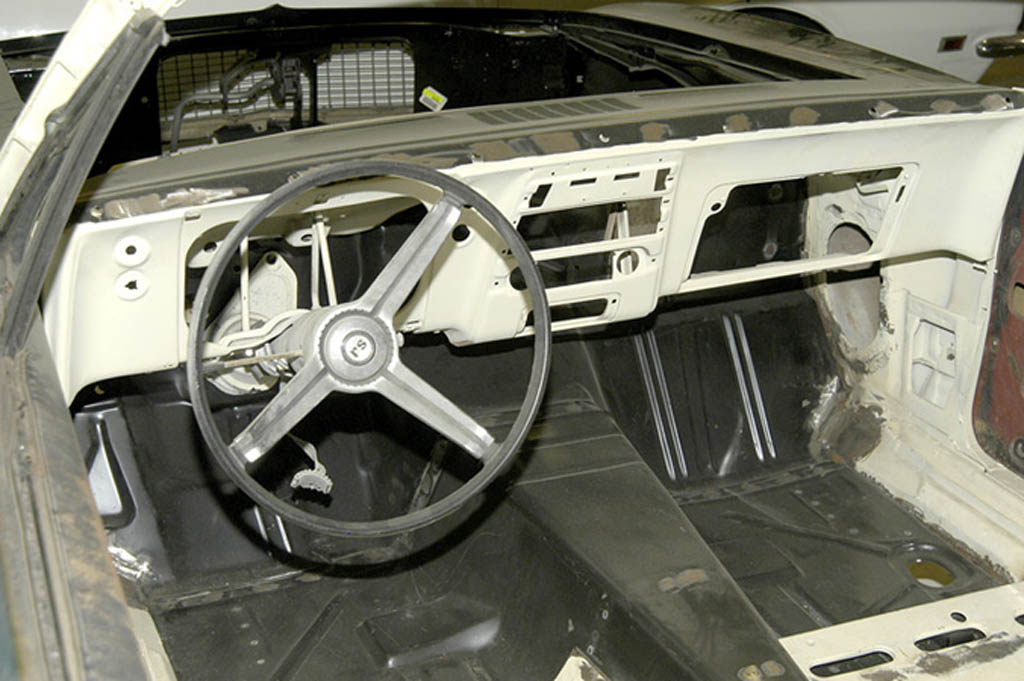
The staff yanks the mid 70's engine and a non-original but Camaro coded powerglide trans (although not being re-installed, we'll keep the trans on hand) and guts the interior in pretty short order. The front clip is nearly all junk except for the headlamp buckets and bumper brackets; everything else is heading for scrap. At this point, the rolling shell's headed to the shop. When the bondo dust settles, there may be so much sheetmetal to work in the shell, that we're already considering equipping the rear with Detroit Engineering's neat wheel tubs.
The Plan stays the same, but the car changes....??
Before we started the major panel repair and replacement, we found locally a rolling 67 convertible body shell with doors, top frame and not much else salvageable (sorry, now hunting for the photos). This convertible body shell's condition was very
similar to the Butternut Yellow automatic car, but it also required metal repair work (quarters) that would better facilitate our wheel tubbing needs. We're continuing with the same project, but switching to a different body shell. Since neither Camaro had an original drivetrain or model documentation other than the factory trim tags, tubbing the worst of the two convertible's salved our conscience somewhat. We're in favor of not dismembering matching number drivetrain Camaros, and yes, that includes the six cylinder Camaro too. Decoding the trim tag, our new project car was originally a 327 V8 Rallysport (we will definitely use at least the hideaway headlamp portion of this very
desirable option), with a Muncie 4 speed and a floor console to boot. The original body color was Deep Water Blue sporting a white convertible top with a Black Custom Deluxe Interior (without headrests). Also factory equipped with Rear Speaker and Interior Chrome Trim options. Built the 4th week of November 1966 at the Norwood, Ohio plant.
This body shell required not much more than we had originally anticipated... |
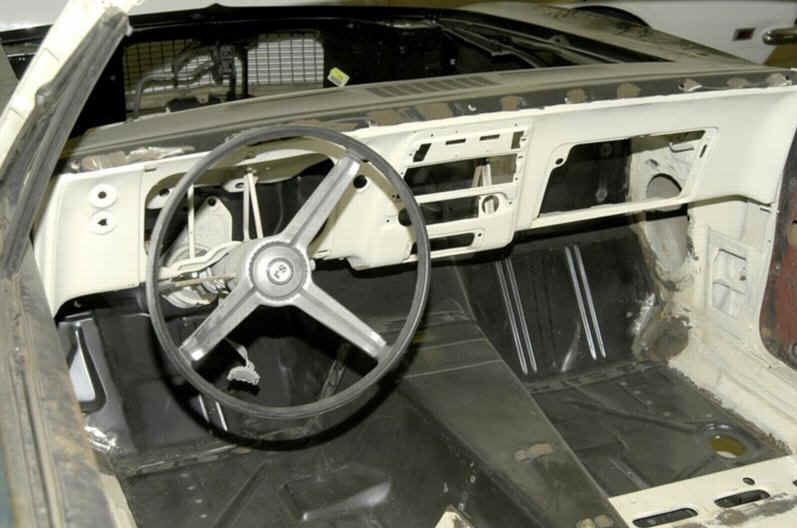 Our first step was to strip down the body to bare metal. We used an original 12 bolt Camaro rear and a good subframe assembly to move the car. Everything was media blasted to remove paint layers and decades of undecarriage and suspension crud to uncover what we had to work with. The entire now bare metal body was sprayed with automotive primer to protect the metal while all the damaged panels were replaced or repaired.
 |
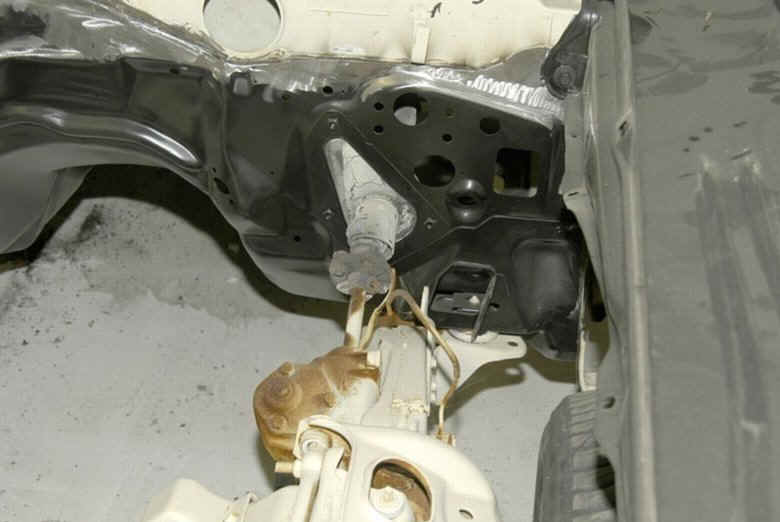
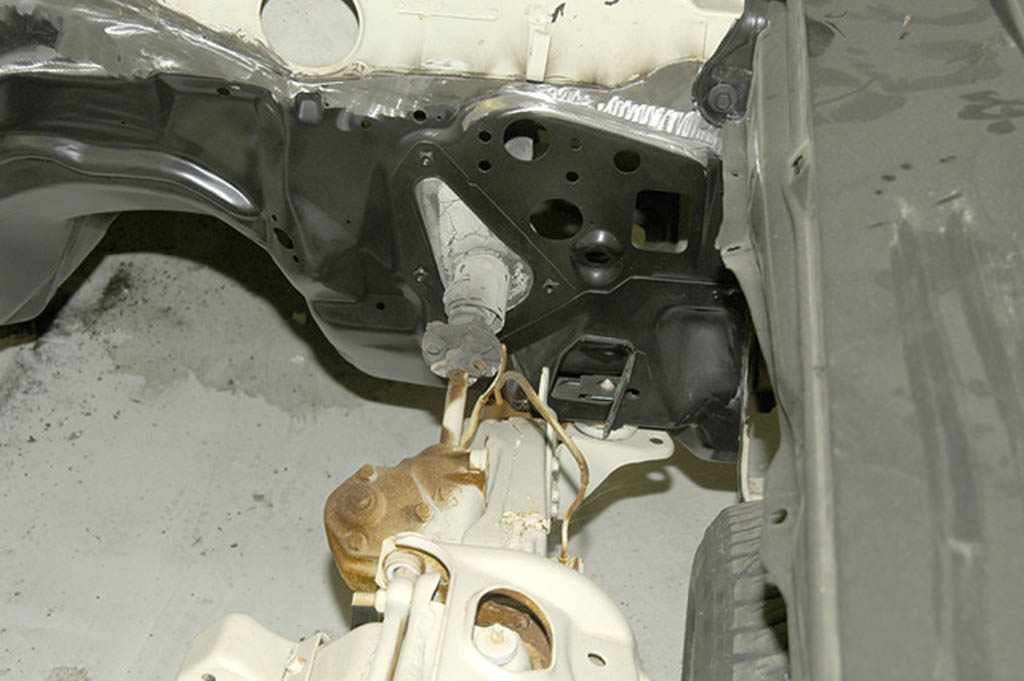
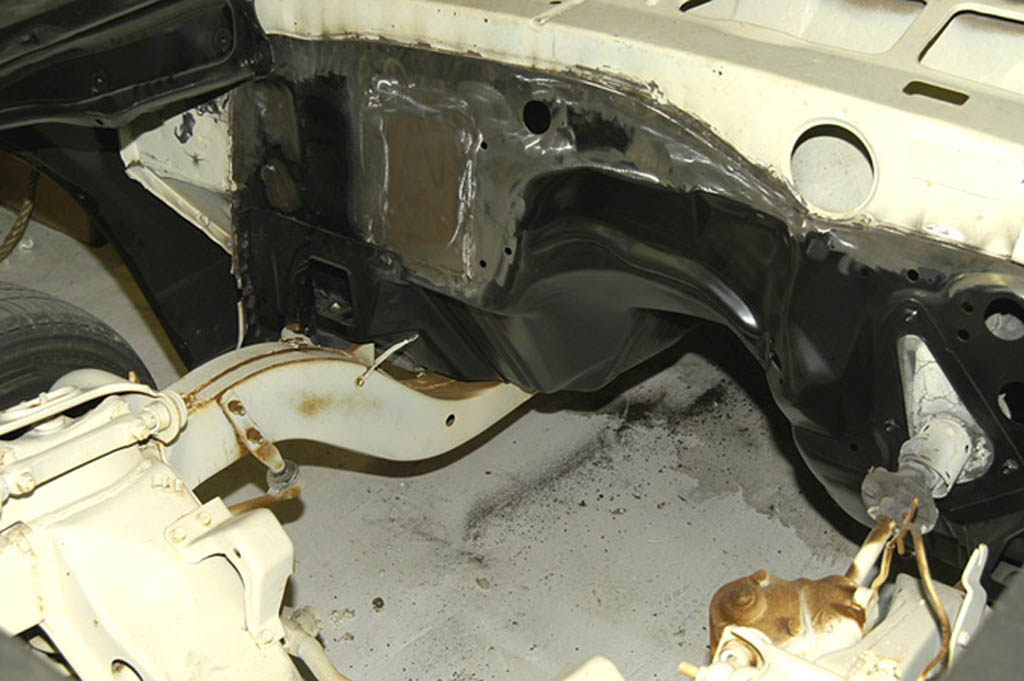
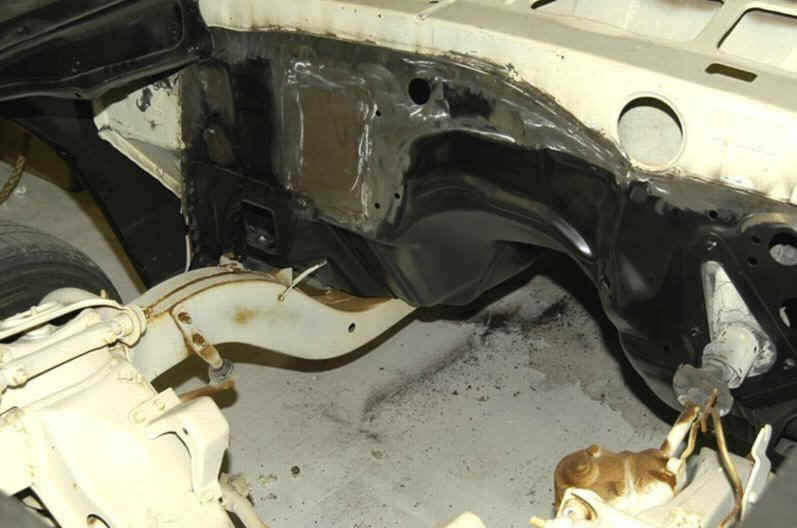
The firewall also needed replacement. At the time, a firewall for an air conditioned Camaro was all that was available. Since we have decided to install a Vintage Air Kit anyway, the firewall heater box opening was welded solid for a nice clean look. The subframe was "temporarily" moved outdoors were it remained a little too long as evidenced by the small amount of surface rust on the steering box. This will clean up easily when we disassemble, restore and build up the subframe. |
|
All our body shell's metal work was accomplished duplicating factory welds throughout. Where full panels were not installed seam to seam, they were professionally butt welded, then ground smooth on both sides, flawlessly joining the original undamaged metal with the needed repair panel. This is not easy as the art is in managing the heat generated over long, large, basically flat body panels. When it's done right, not only is there no sign of warpage, but bondo or filler is not required as the now solid and smoothed seam area just needs prep and paint. |
 |
|

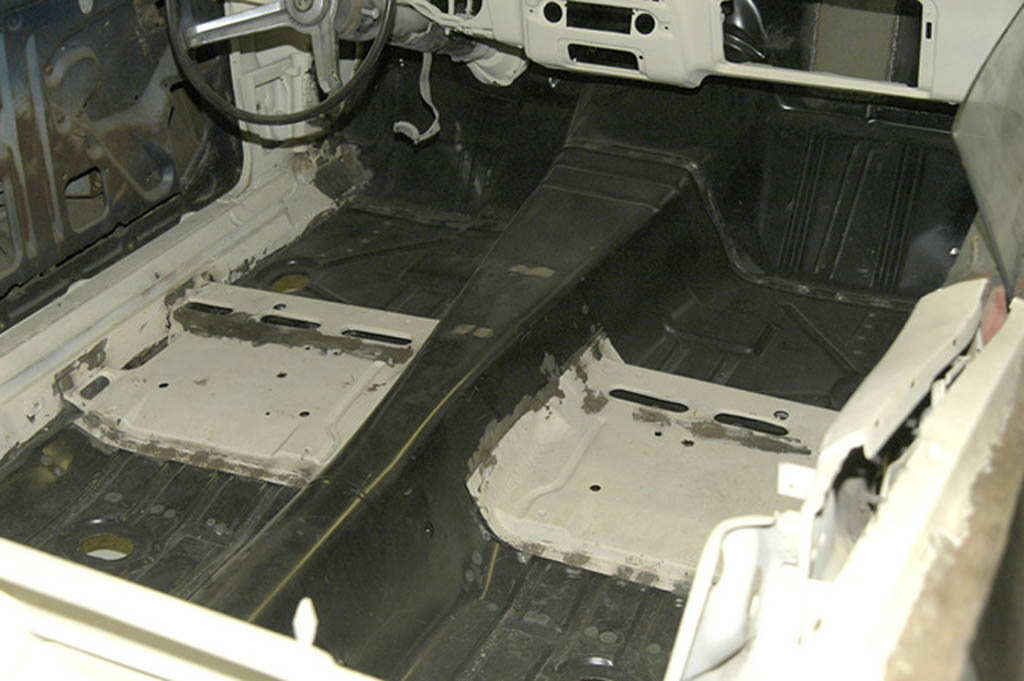
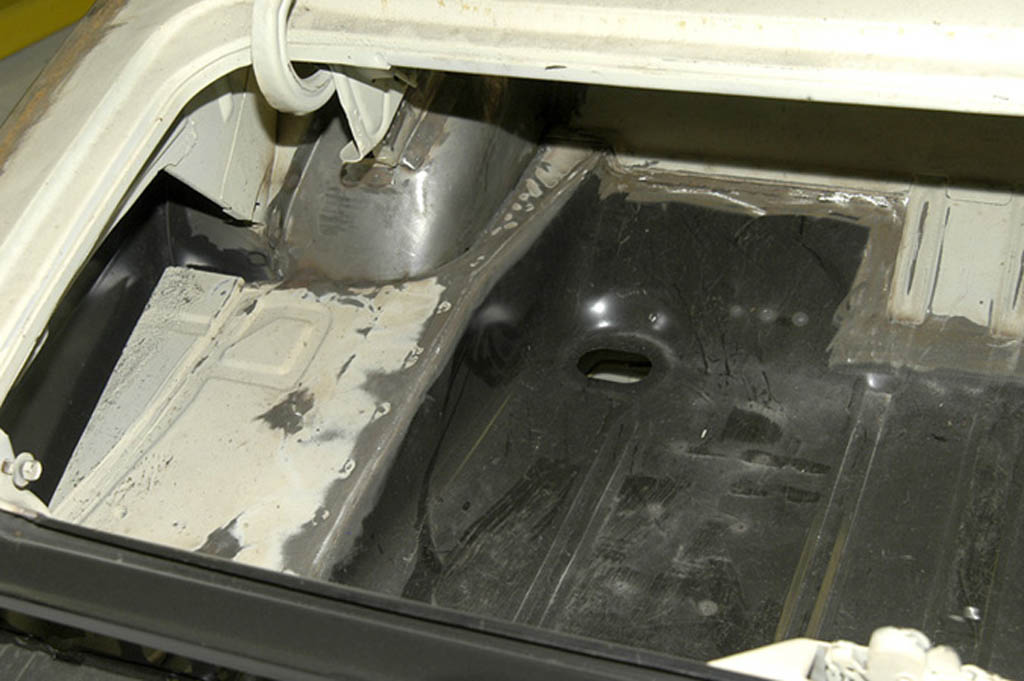
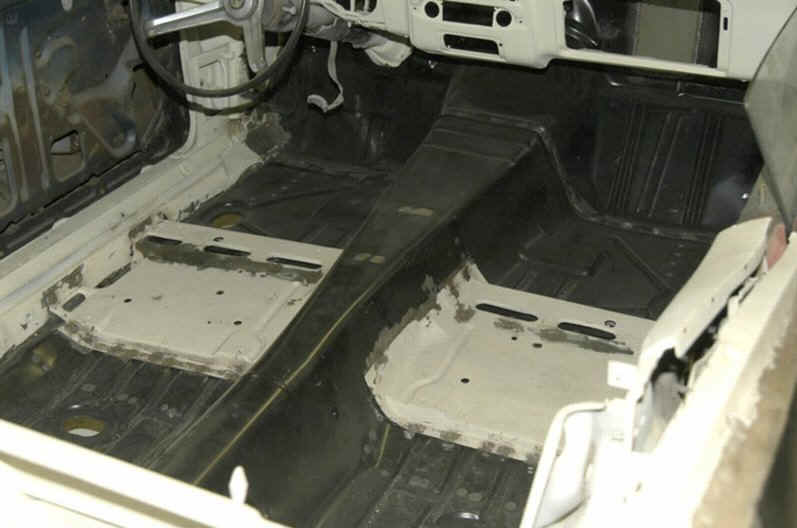
The floor pans were in rough shape, which led to replacing the entire floor with one of the full floor pans from Dynacorn (PP-140). The original under floor bracing was in extremely good condition; surprising considering the heavy rust damage to the entire original pan. |
Both quarters, a tailpan, an upper dash panel and a large trunk floor round out the list of the major body panels that were replaced. Of course, we have to add an entire RS front clip also. |
|
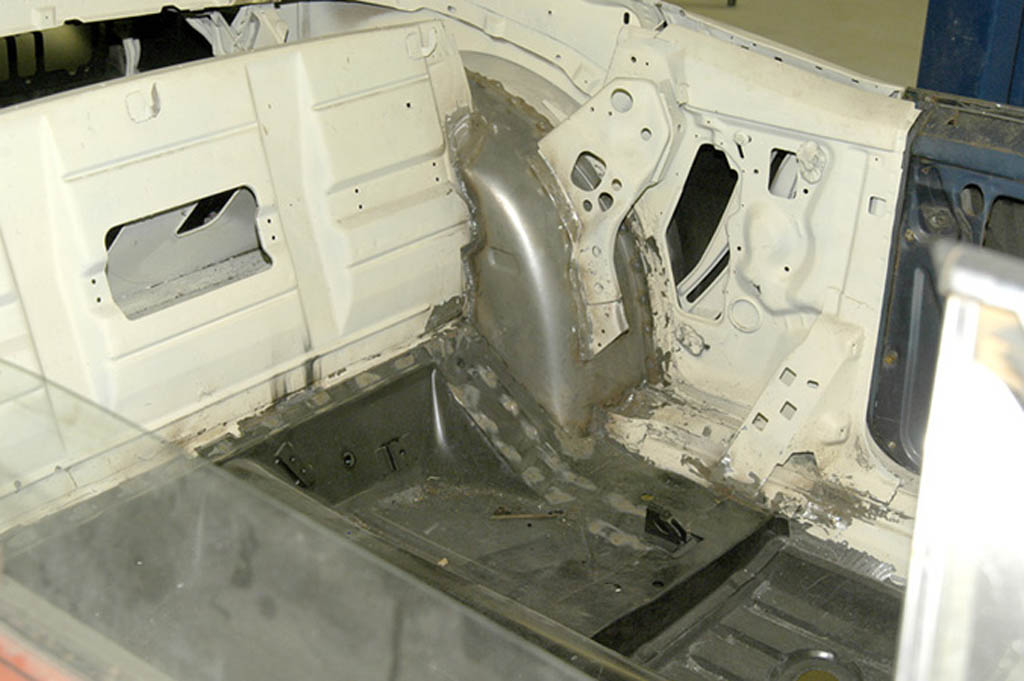
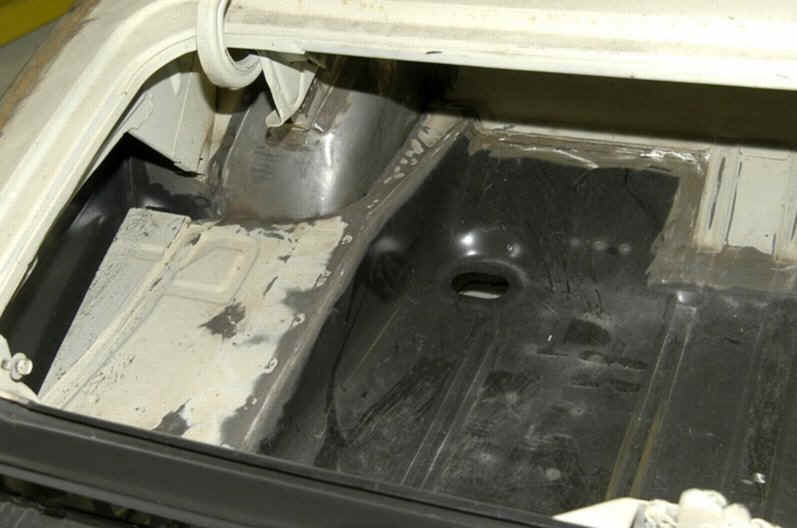
Since the car was being cut all to pieces we installed Detroit Speed and Engineering mini tubs to gain some additional rear tire clearance. The lips of both outer wheel wells were damaged from rust thru. We replaced only the outer 4 inches or so, butt seaming the cut down panel to the solid existing outer wheel well. This extra effort was done to keep all the convertible specific bracing locations attached to the wells undisturbed, making the following replacement panel's alignment much easier and problem free. |
|
|
Before we finish the body work and send the RS to paint we will test fit the motor, transmission, air conditioning and suspension, probably using an LS1 with a 6 speed, 12 bolt posi rear with Hotchkis front & rear sway bars, DSE tubular a-arms and front coil over suspension. Just in are the new Hotchkis Frame Connectors manufactured specifically for convertibles. First, the subframe: |
|
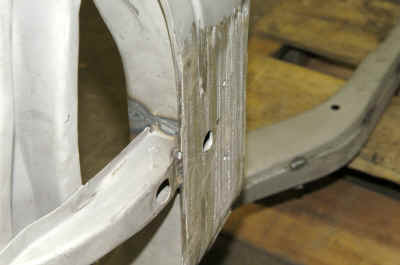
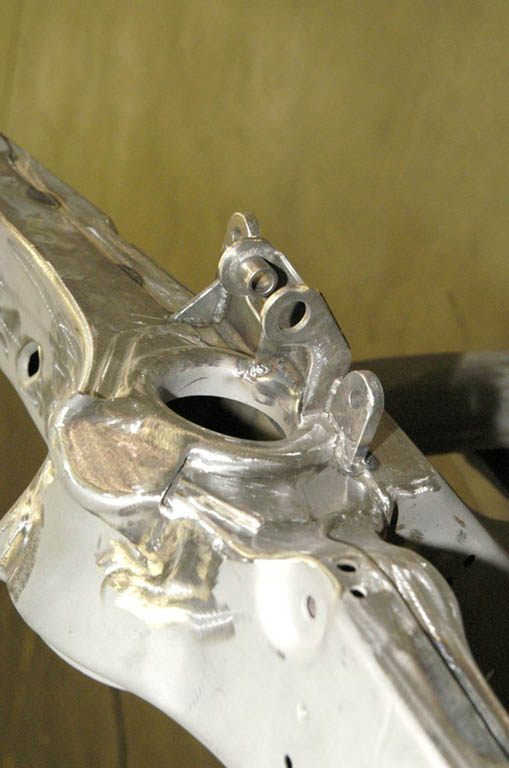
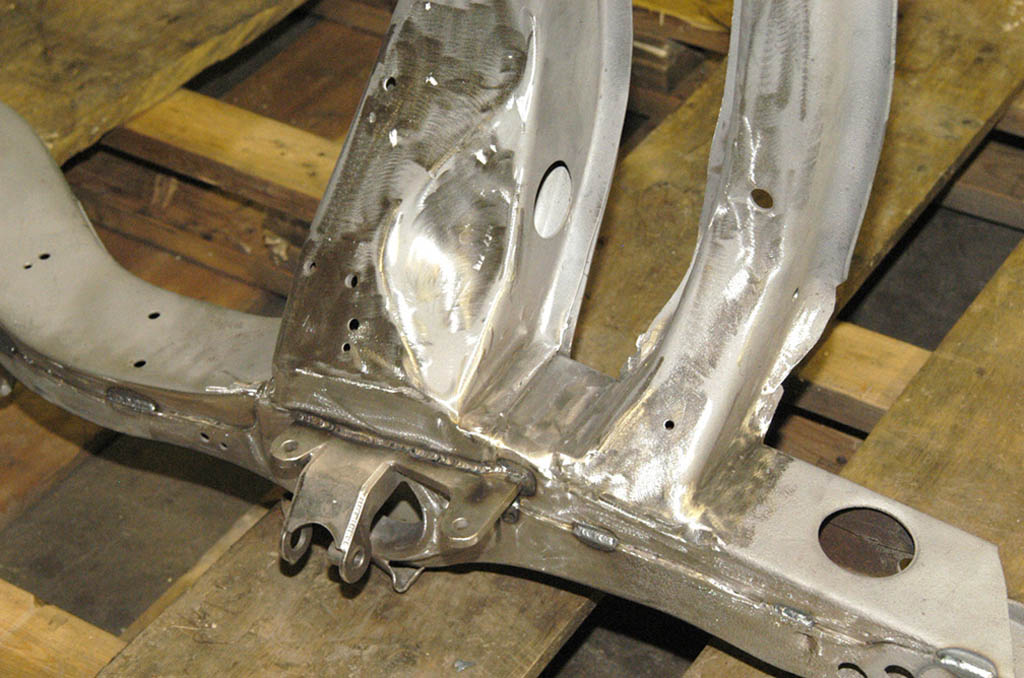
A DSE trick modification fixed a common problem with Camaro sub frames. The bottom was cut open and metal reinforcements were welded in place; then a new outer plate was welded in, making the subframe look like new. The reinforced frame will serve two purposes. First the frame is now more rigid, and second the center section can easily withstand the weight of the car on a floor jack without deforming. |
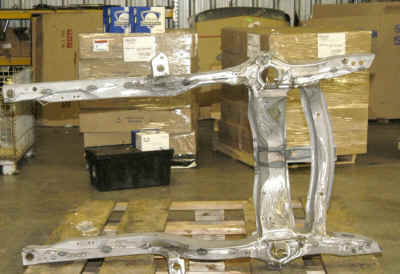
Our bare subframe arriving from the good folks at Detroit Speed and Engineering. DSE welded in new upper control arm mounts and modified the frame for their coilover shocks. DSE also added many more welds to the box frame than the factory did, ensuring a rigid structure. |


.jpg)